The Sketchbook Project

Christmas 2013 I was given a sketchbook, from my husband, for a present. Said sketchbook came from The Sketchbook Project, an ongoing and ever growing collection of completed sketchbooks that travel around the US- it’s a little pricy ($25 for a sketchbook and $60 for the sketchbook to be digitized as well.) For more information about this and to get a blank sketchbook yourself, check out their website: www.sketchbookproject.com

Every year I enjoy taking on a new year long drawing project. For 2012 it was a sketch a day and for this year? Well, I’m interested to hear what you have for ideas. I have been so wrapped up in completing this sketchbook (the deadline is March 31st, 2015) that I haven’t given any thought other than “eyes” to a new one.

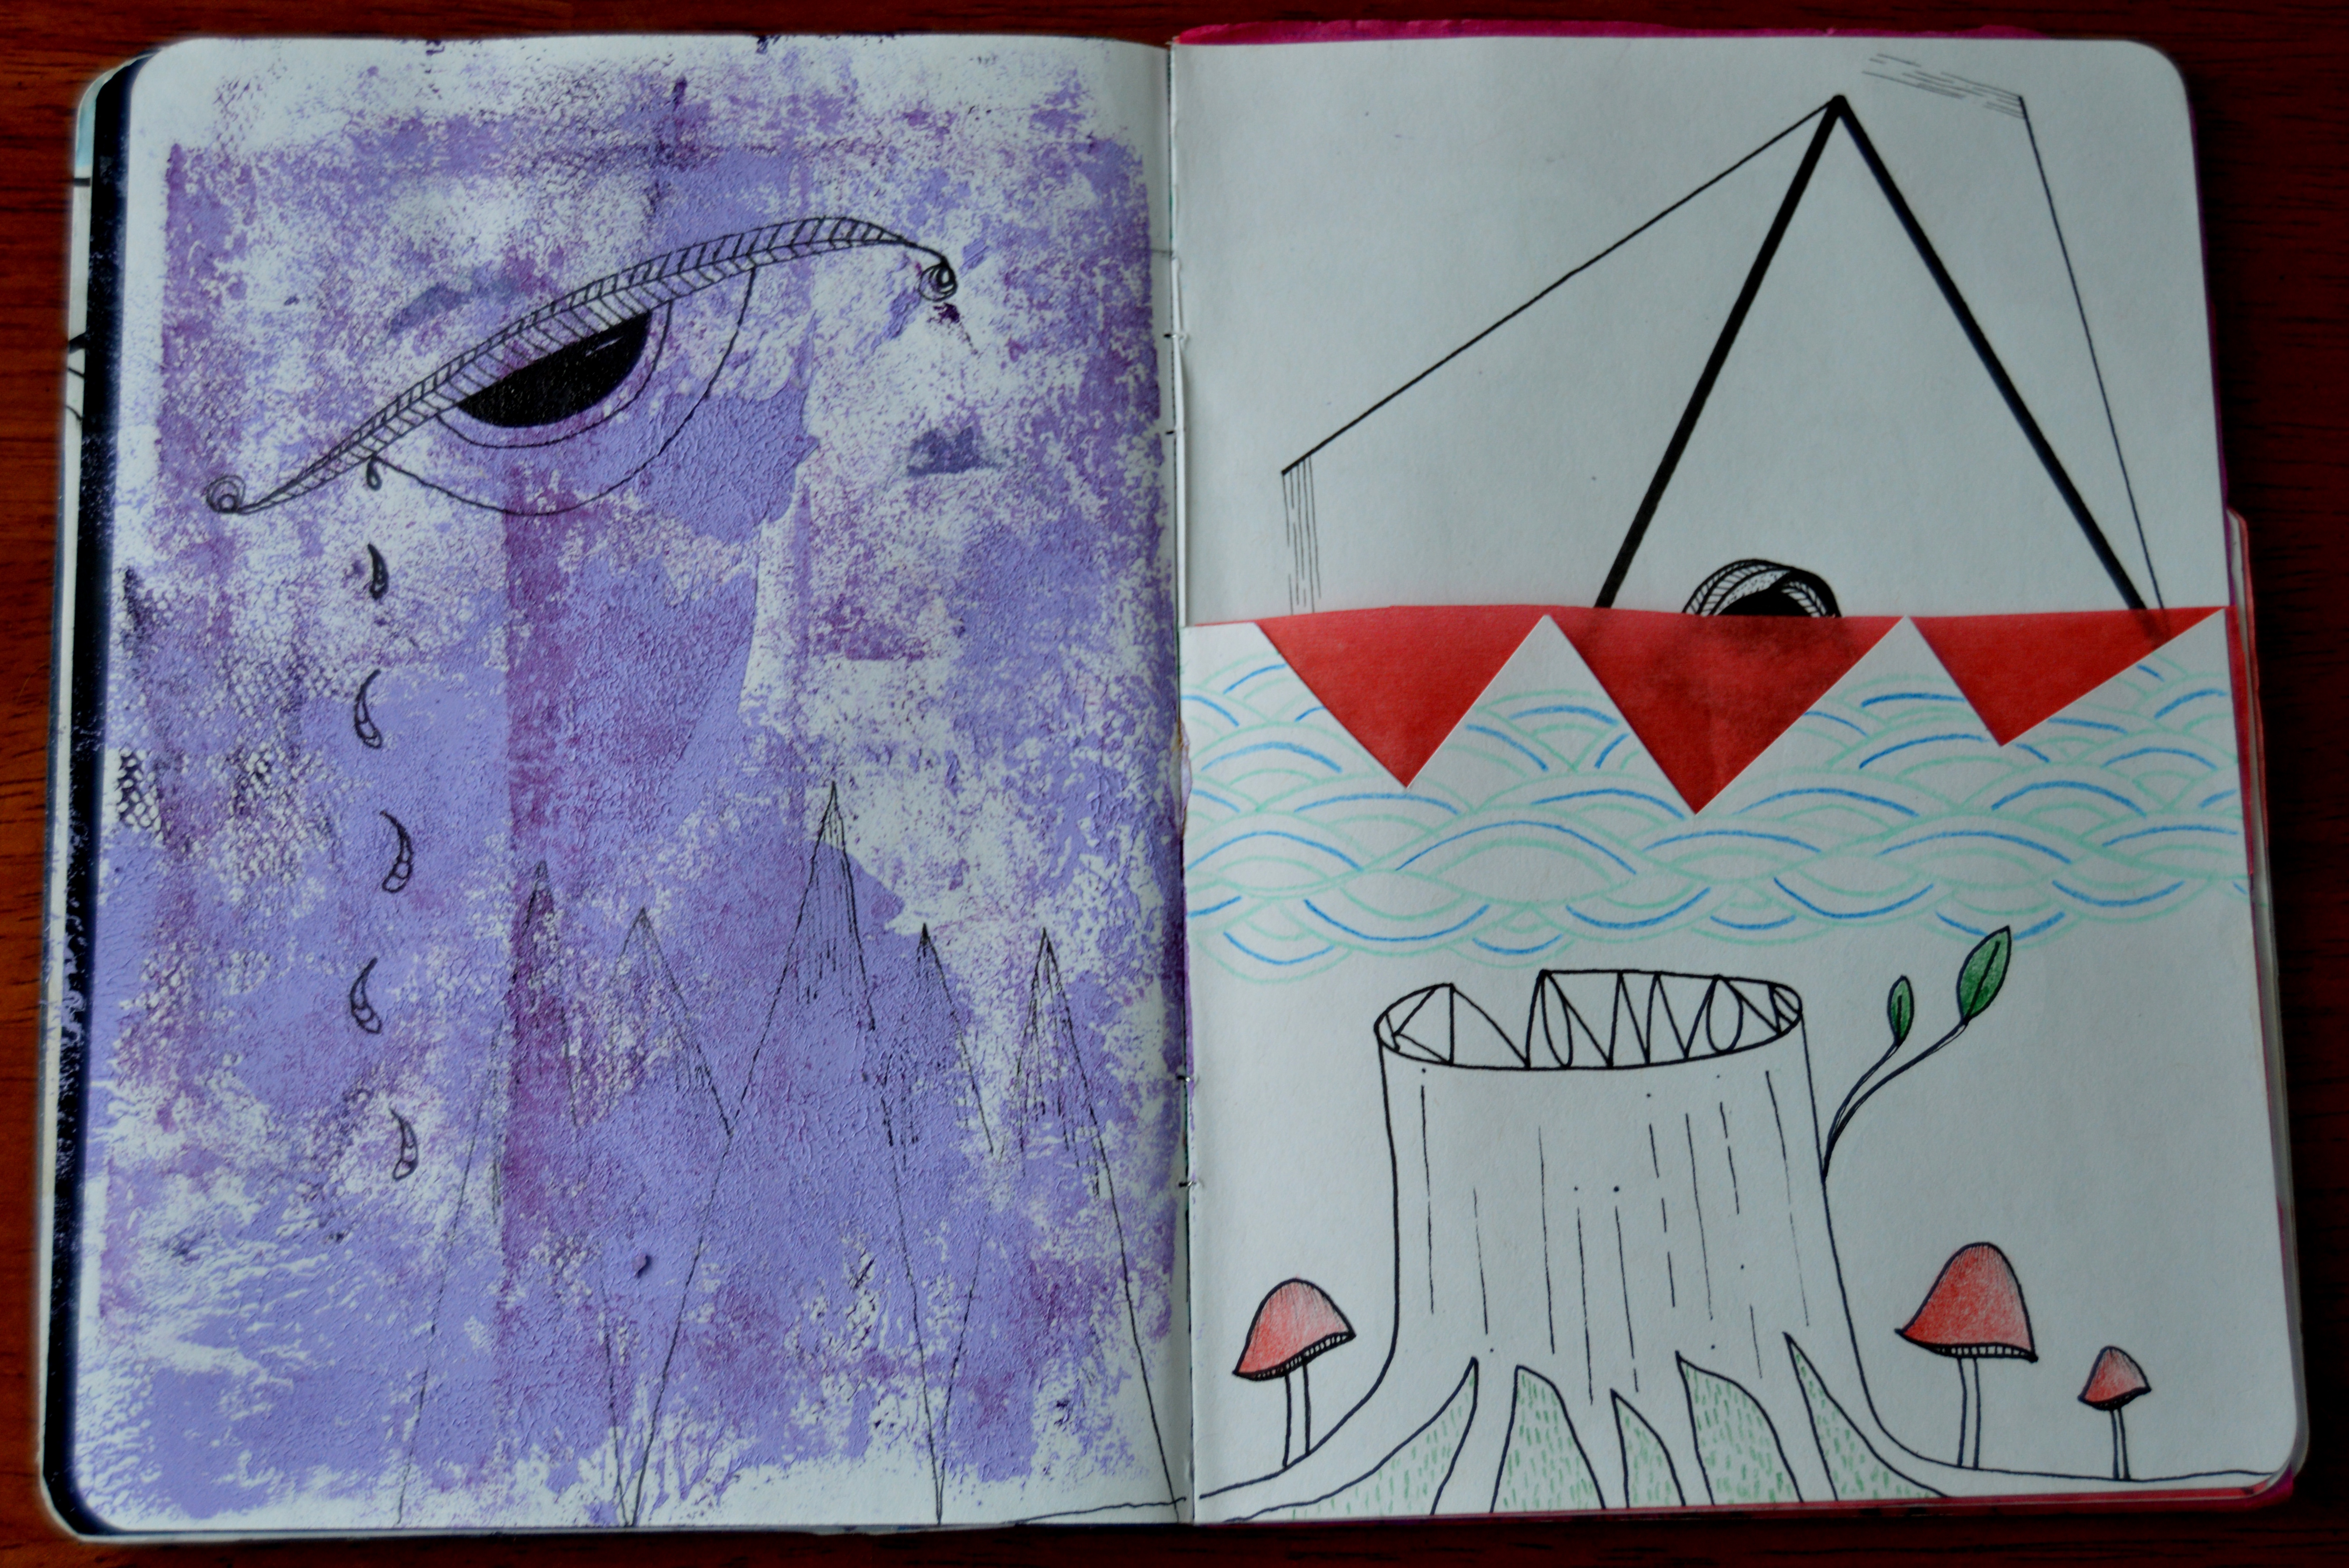
I would highly suggest checking out what other artists have done with their sketchbooks- some have done pop-up art, others have gone multi-media, some art straight up comic books. It’s really inspiring for me to see what other people put into their books- some of my favorites come from graffiti artists (in the graffiti world they’re called black books.) Here are the contents of mine, from cover to the very end. I want to see what you put in your books so use the hash tag #knowloveknowcolor for a repost on my instagram feed! xo, Ev.

january27th2015 001

january27th2015 002

january27th2015 003

january27th2015 004

january27th2015 020

january27th2015 021

january27th2015 022

january27th2015 011

january27th2015 023

january27th2015 024

january27th2015 016

january27th2015 017

january27th2015 018

january27th2015 019

DIY Framed Honeymoon Shells

My husband and I had an amazing honeymoon in Costa Rica and being the avid and voracious collector of shells and rocks that I am, I brought home a bunch of both (and found a few of the much coveted lucky rocks. For those of you who don’t know what lucky rocks are, they have a stripe that runs all around it.) At this point I had to figure out a new way to display them. I have rocks + shells all around my house- outside on our railing, in glasses and mason jars, rock stacks in my windows, feathers sticking out of sea glass, decorating my fireplace mantle and adorning the base of my potted plants. I even have an interesting piece of driftwood that holds some tiny rocks and shells sitting on my studio table. At this point, I figured it’s time to step up my game. So I decided to frame them.

image

The process couldn’t be more simple.

Materials Needed

Gold spraypaint (or color of choice)
Frame
Shells
Krazy glue
Double-sided tape
Shells
Rocks

I have a stack of unused frames from Ikea (I can’t tell you just how many times they have come in handy- I try to keep my studio relatively simple, clean and something resembling sparse but these are a must have) that I took apart and promptly spraypainted the backing gold.

image

I didn’t use fancy spraypaint- no use wasting Montana here unless you’re looking for a specific, hard to find color (and for those of you unfamiliar with this delightful brand, they have some fantastic colors and the paint itself has amazing coverage.) Once dry I used double-sided tape to ensure the mat board doesn’t slide around (I love that Ikea provides a custom cut mat board.)

image

Then comes the fun part: arranging the shells and rocks. Honestly, this is why I have them all over my house, so I can rearrange them as often as I please. Once in place, all that’s left is gluing them down! I have a hot glue gun somewhere in my house but instead of searching for it, I decided to use Krazy Glue. To be honest, I find it less messy and time consuming than hot glue gun. 

That’s all there is to it! I’d love to see what you come up with. If you are on Instagram, use the hash tag #knowloveknowcolor to be reposted on my feed! xo, Ev.

Getting Out That Last Bit Of Paint From The Tube

We’ve all been there. You get down to the last bit of paint in the tube and would really rather not waste it- there’s always more than you think in there! I have found that cutting off the tip, cutting down the side and cutting off the bottom allows me to get every last bit of paint out.

2015/01/img_3162.jpg

2015/01/img_3159.jpg

But this of course, really got me thinking. There’s still a little more in there and since I am an abstract expressionist painter who’s main focus is texture, why not find a different way to use up that last bit in a different way (or two?) Here are the results:

2015/01/img_3163.jpg

2015/01/img_3165.jpg

I couldn’t be happier with the results, despite my paint being gone. Always a little bittersweet when you finish up a tube, am I right? xo, Ev.