Pokeberries grow in abundance out where I live and after finding out they work great as a natural dye using minimal ingredients, I decided to give it a whirl. This is my first time dying anything other than my hair and it was incredibly easy! I will definitely be experimenting with other ways to dye wool and fibers. As for what I chose to dye, I have a fantastic neighbor who has alpacas. I mean, these cuties are the best- super friendly and curious.
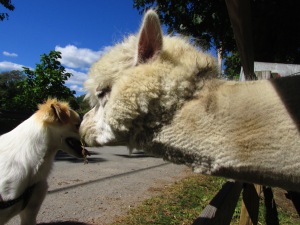
 Meet Clover (also shown below, nuzzling myself and my dog, Sprocket!)
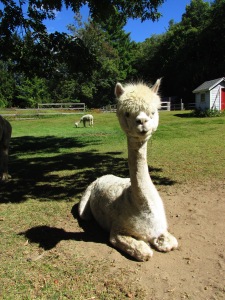
 This guy didn’t have a name as of the time I met him. This was taken in mid September when he was newly born. Already he is sweet & friendly and comes up to say hello.
 I love her haircut! This is Bella. She’s a little standoff-ish but also sweet.
 Pokeberries truly are gorgeous- the entire plant is a favorite of mine. I have a few in my backyard and there are a bunch in abundance in the woods by my house. One of my favorite parts about this project was everything was gathered locally.
 Here is a list of what you’ll need to get this project done:
undyed alpaca fiber or wool
mesh strainer
dye pot that will fit the amount of fibers being dyed
masher or spoon
white or apple cider vinegar
3-4 lbs of pokeberries to every pound of wool
pokeberries (for amount, see above ratio)
gloves (optional as pokeberries are both safe to touch and will wash off)
towel or hangers for drying
First step is to put the wool into the dye pot (it will save you an extra step if you use just one pot) and fill with a 50/50 solution of cold water and vinegar. Vinegar is used as a mordant (although it is not technically a mordant) which helps the pokeberries become colorfast (stick to the wool without later fading.) I do want to point out that at any stage of the game, using water that is too hot will felt your wool. Additionally, in this step and while dying, do not agitate the wool as it will have the same effect. Make sure the wool is soaked through, put on the stove and cover. Heat to simmering, turn down to the lowest setting and let sit for an hour. Again, do not boil. Turn the heat off and let cool overnight.
 The next day I prepped the berries for dying: pick the berries off of the stem (you may want gloves for this part) and mash in the strainer. The goal here is to get all of the liquid out that you can, leaving behind only the flesh and seeds. To save yourself an extra step and another dirty dish to wash, just put the strainer over the pot with the wool in it (after draining a bit of the solution out- you want just enough liquid to soak the wool) and mash away over the wool.
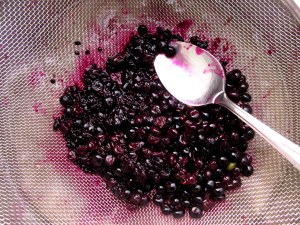
 It was pretty neat to watch the juice soak into the solution and the wool, I must admit. Stir gently to combine and voila! This is your dye bath.

 You can do this one of two ways- I left mine outside, in the sun (my patio gets fantastic light all day) for 24 hours OR you can heat it over the stove. To do this, you will need to keep an eye on it. You want your solution to be barely simmering for an hour to get pinks and fuchsias. Specifically, you want your water to be hot to touch without burning. Once the water gets to that temperature, turn the heat off and let cool. There are advantages to each- I chose to leave mine out in the sun because of two reasons: curiosity and because I was heading up to Maine to go visit my little brother. This way, you don’t have as much control but I still achieved some beautiful pinks and fuchsias.
The next step is rinsing.


 I used a very small amount of wool (although the ratio stayed the same- 3:1) as this was my first time dying wool and it made the rinsing process ridiculously quick and easy. For rinsing you will want to leave the water running until it runs clear and make sure to use cold water. You may or may not want gloves with this part. I didn’t have any troubles and it left less juice on me than picking the berries did. Either way, the pokeberry juice washed away easily with hand soap. Then comes the drying. As I have a basement, I draped my wool over two hangers and let sit for 24 hours. You can also lay it over a towel or a drying rack. The most important thing to remember is you want to lay it as thinly as possible for a speedier drying time.

 And for my next step, hand spinning!

 I’m mixing it with undyed alpaca fibers and it is gorgeous. I’m a drop spindle (although, a spinning wheel is on my wish list!) and I love it. What are your latest adventures with wool? xo, Ev.
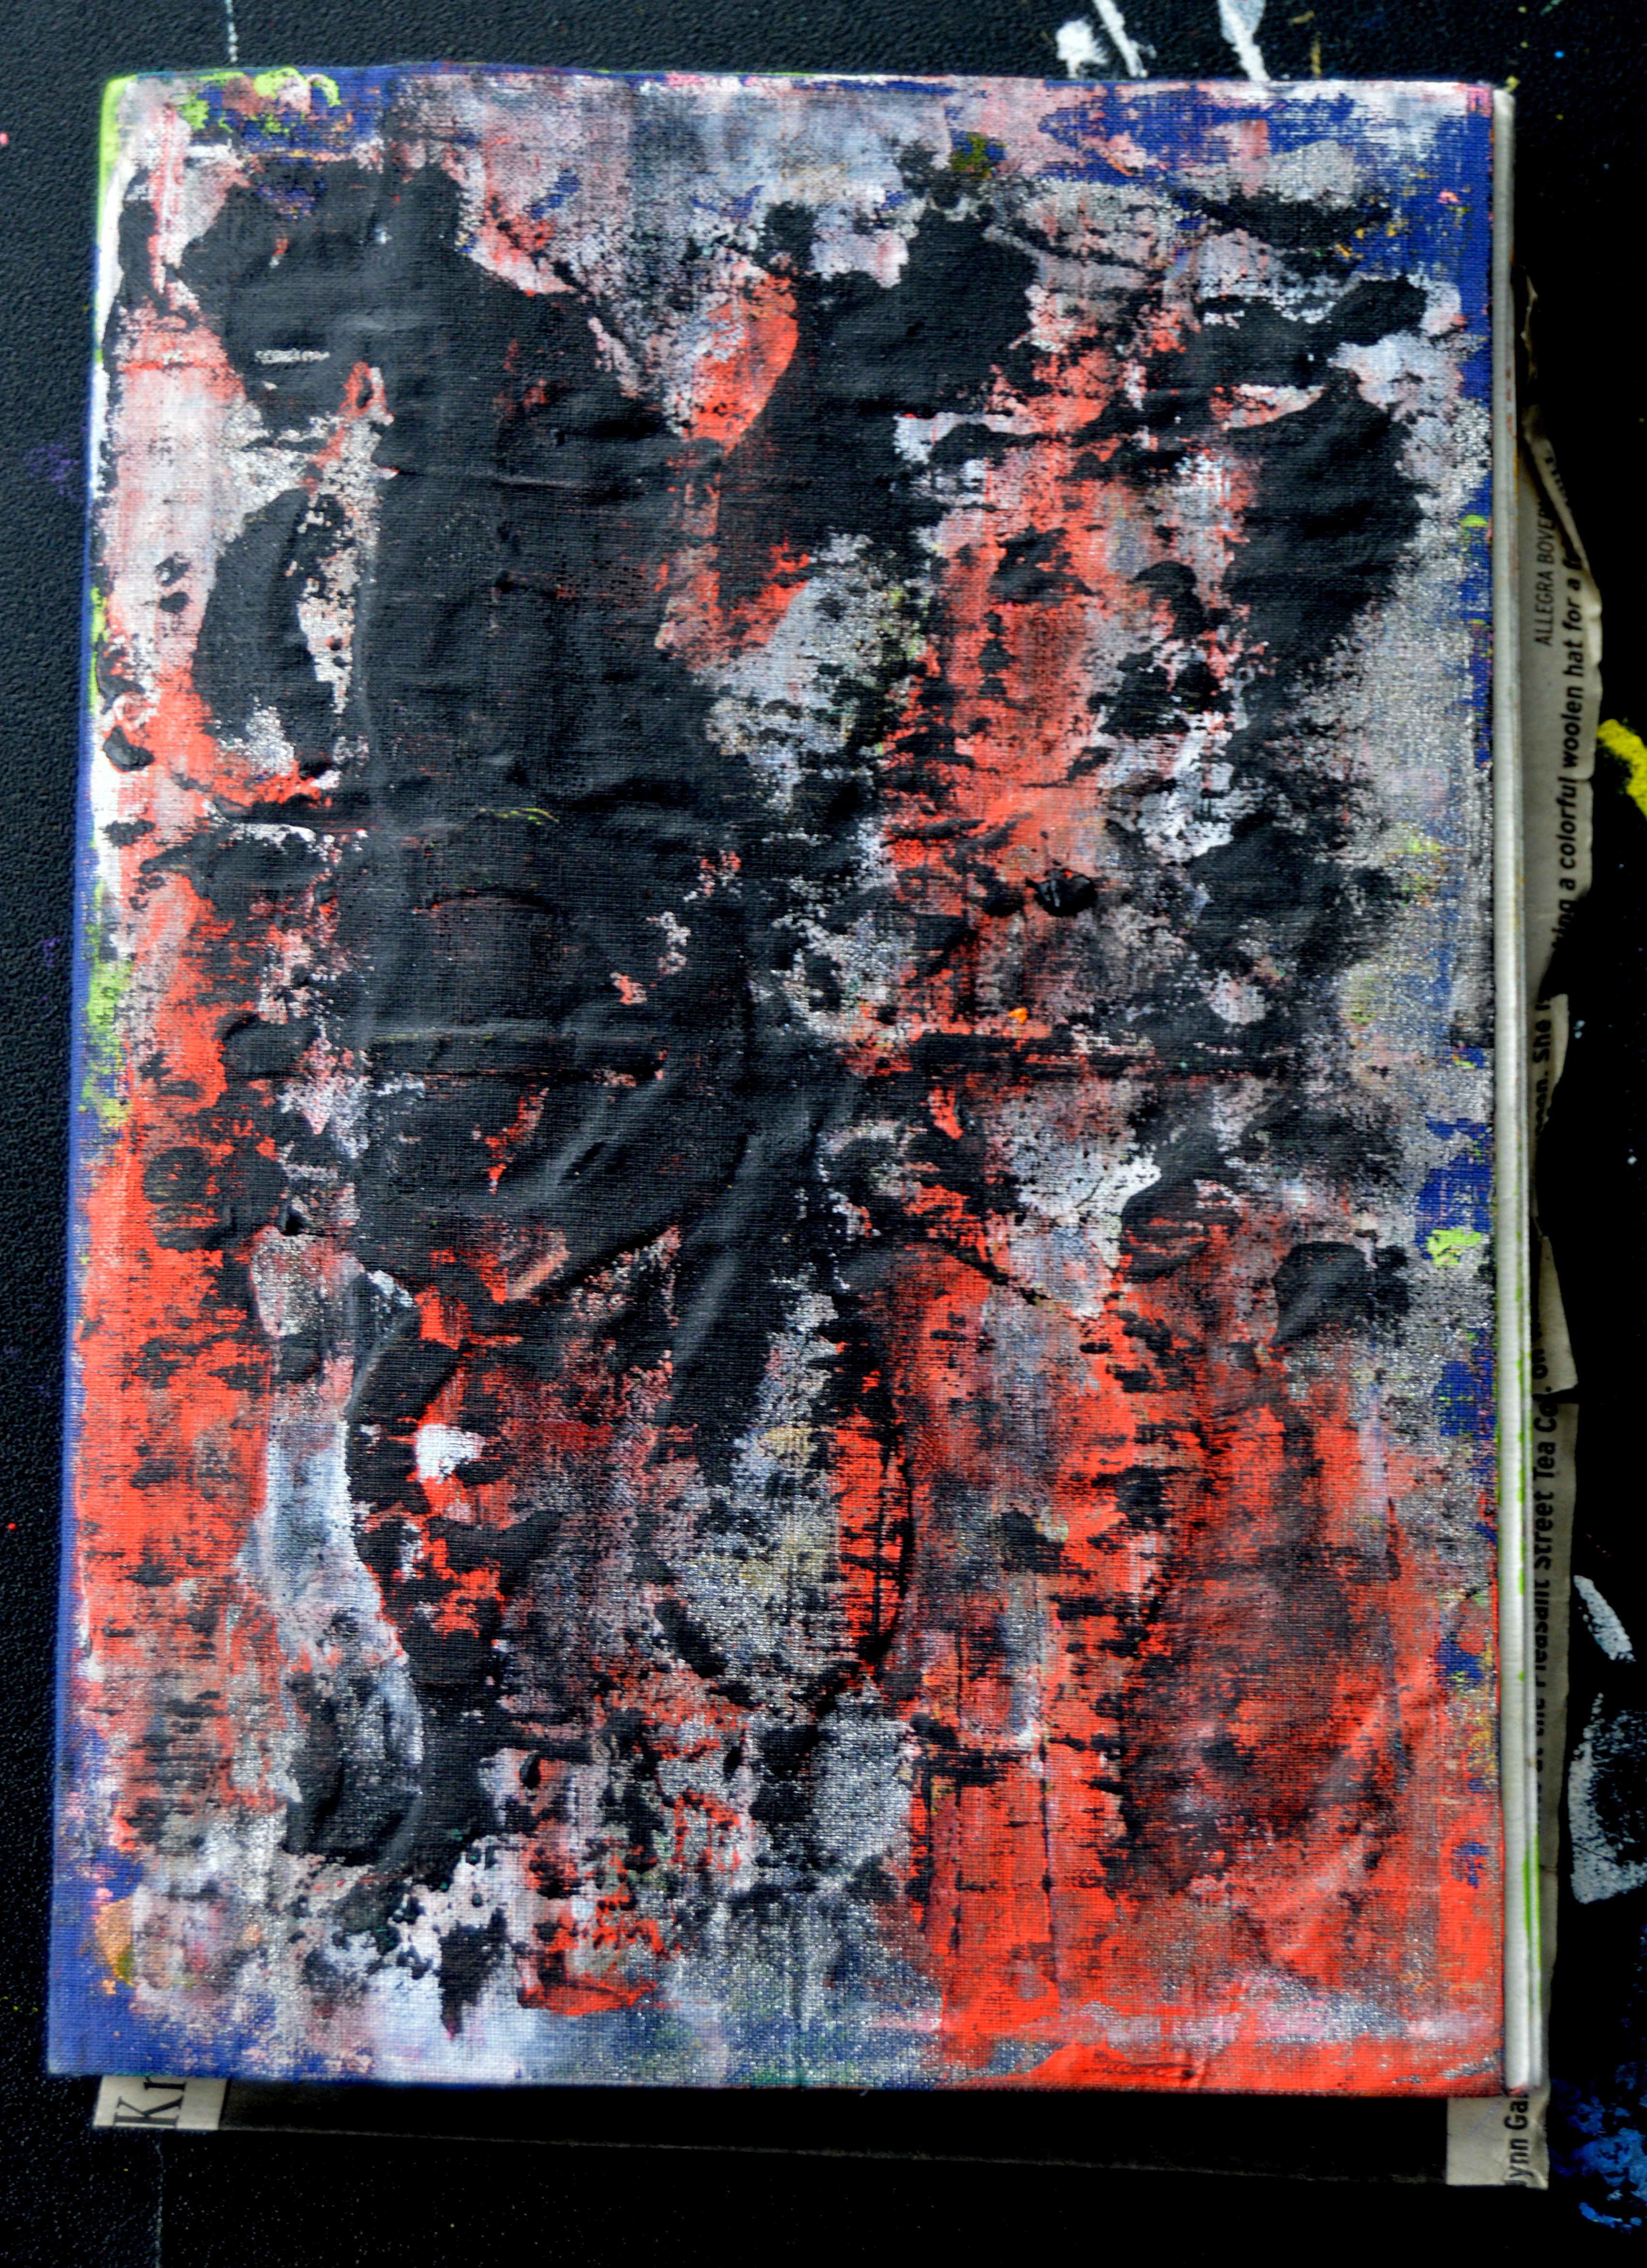
 I had so much fun creating this sketchbook! I’ve had it in my head that all of these years of using paper and paper towels (as well as aprons, jeans and hand towels…) as a blotter for paintings would need to be reused somehow. Why not in a sketchbook? I was using these papers to test drawings on before heading to my sketchbook so this was a very natural progression. It combines my love of re-purposing as well as multi-media artwork. I love to sew but not avidly; I use it more to supplement my art or to make little crafts (such as my lavender sachets.) So I pulled out my watercolors, acrylics and some extra paper and got to work laying down a background, with the idea in mind that these colorful pages would be a background for drawings.
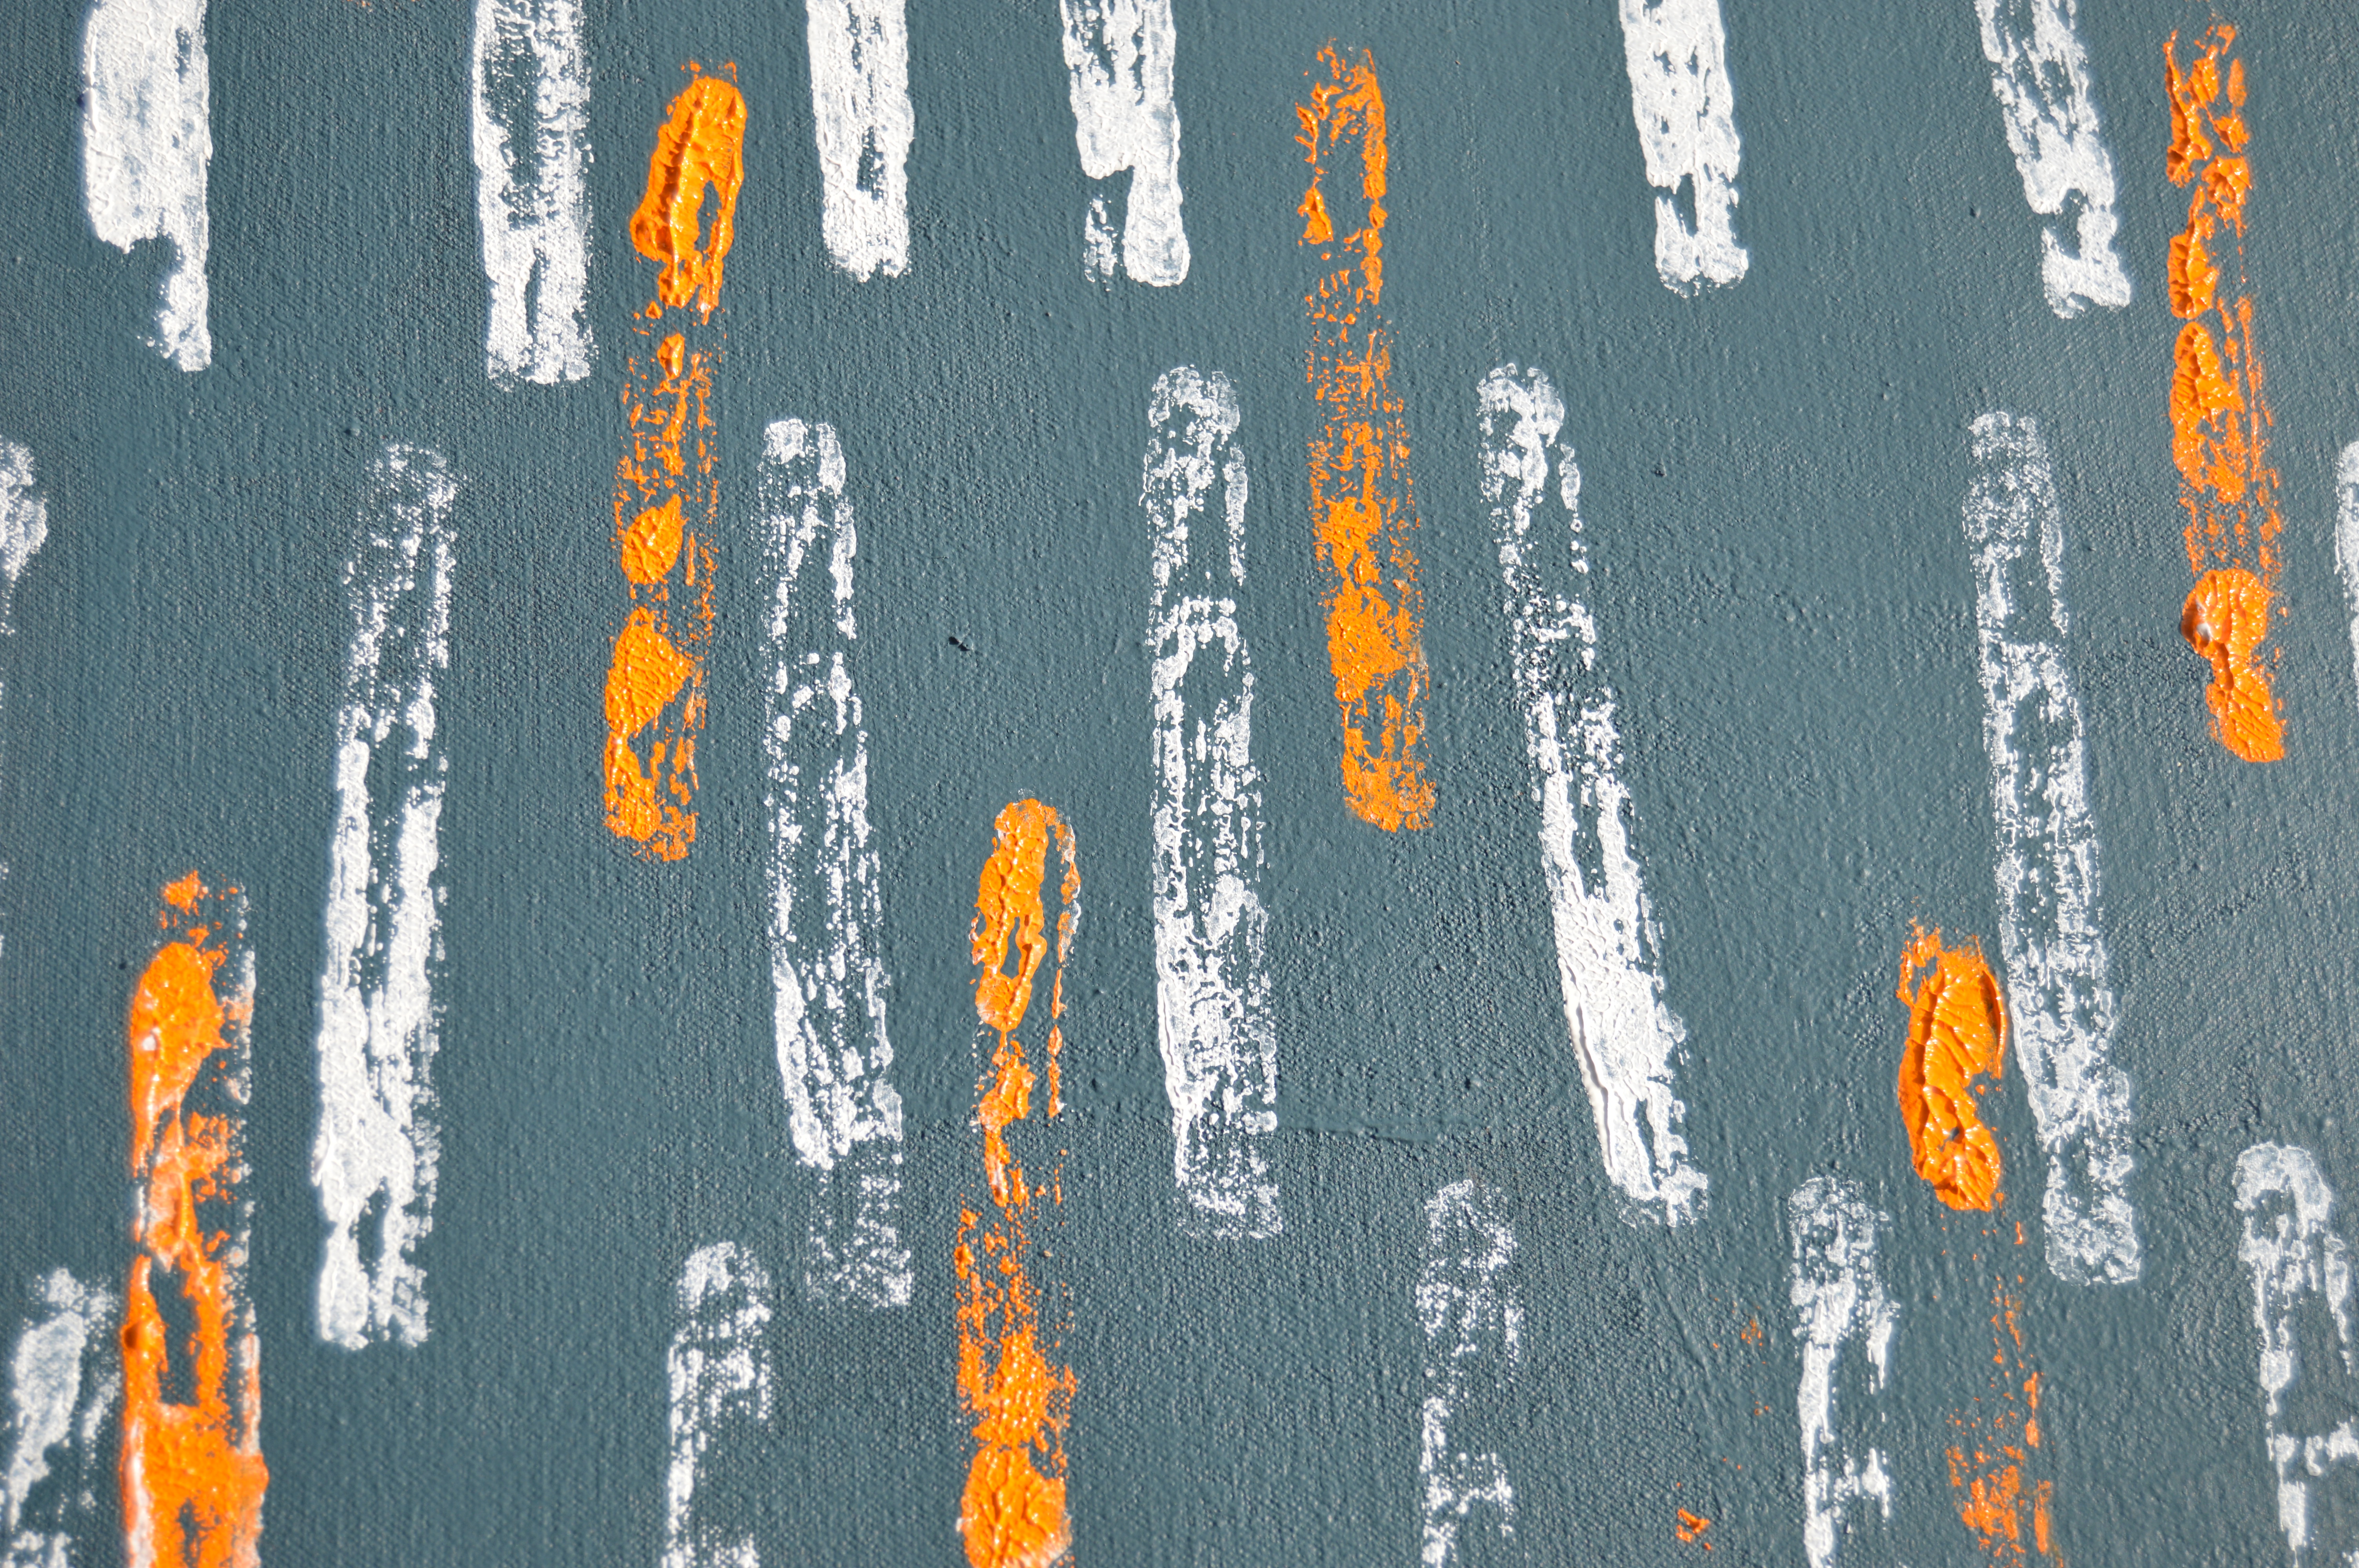
 I’ve written before about my love for textures and about how all of my paintings are based around that, which is where the idea for this sketchbook came from. Next up was to pull out my sewing machine where I decided to sew some designs onto a few pages as well as a photograph, before sewing it all together- my preferred means of binding it all together.


 The sewing worked out really well, better than I had anticipated. The sketchbook has 15 pages (30 front and back) in which I sewed all together after sewing them together 3 at a time for extra strength. My only worry was that I would need a denim needle, which this sewing machine does not come with (I’m sure I could buy one for it but sewing machines and their accoutrements are NOT my specialty…) The photograph was also much easier to sew than I had expected and I loved finding a new way to add my prints to my work.